1. Open
Informatica Repository Manager and select Configure Domains under Repository
menu

2. Click on New


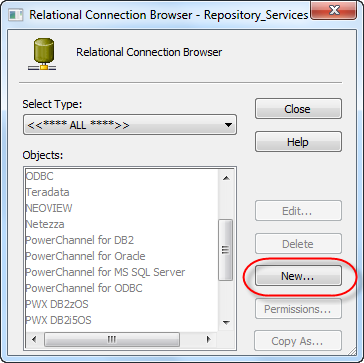
5. Connect
the Repository

6. Provide
Connection credentials

7. Create
a new folder under Folder menu

8. Enter folder name and click OK

9.Open
Informatica Designer and Right click on
the folder and select Open

10. Select
Import from Database under Source Menu

11. Click on browse button

12. Create
a new System DSN ODBC connection

13. Select
Oracle Wire Protocol

14.Provide
proper connection details and click on test connection

15. Provide
username and password. Click OK

16.Once
connection is successful click Apply and OK


17. Create
connection for Target as well and click OK

18. In
the ‘Import tables’ select connection to source

19. Provide database connection details and click on
connect.

20. Select Employee table and click OK

21. In
the TARGET database schema, create a Target Table as follows

22. Under
Targets menu select Import from Database

23. Select
Target connection, Provide database connection details and click on OK

24. Select
EMPLOYEES table and click OK

25. Under
mappings menu select Create

26. Enter
a mapping name

27. Drag the source into the editor window

28. Under
Transformation menu select create

29. Select
Expression transformation from the drop down and click on create and then click
on Done

30. Drag
all columns from Source Qualifier to Expression.

31. Double
click on expression transformation and click on new column button.

32. Enter
column name and select as output port. Select the expression builder for the
Fullname column.

33. Enter
the concatenation expression as below and click validate and then OK

34. Click
apply and then OK

35. Drag
the target table into the mapping editor

36. Map
all columns from Expression transformation to Target table

37. Save
the mapping. Make sure your mapping is valid.

38. Open workflow manger and select Relational under Connections menu


43.Provide connection for Target and click OK


54. Double click on session


No comments:
Post a Comment